Showing posts with label HOMEMADE PROJECTS. Show all posts

Monday, April 12, 2010

PAINT WOOD WORK - CHECK!

Today I am sore.  Well, only when I stand up or sit down.  However, I can walk a little more normally than yesterday.  I'm pretty happy about that. :0)  You see, we spent the entire day on Saturday FINALLY painting that old, ugly, nasty, scratched up wood work in the dining room, living room and hallway.

I'll share just a little peek with you.

Before:

After:

The white wood work makes the house feel so much lighter, fresher and cozy.  It was definitely worth the sore muscles.  I can't wait to tackle those kitchen cabinets next!

Happy Homemaking!

Friday, March 12, 2010

SPRING DINING ROOM UPDATES

Yesterday, I posted about a few updates I've made in my bedroom this at my other blog.  But, I have other plans for that blog today (hope I have time to get to it).  So, I thought I'd share a couple of quick and cheap udates here that I made to the dining room.


I have always had red accents in my neutral(ish) home.  This is a picture from last Spring.  I added a white table runner (the one made from the shower curtain) and a Springtime/Easter display.  But, lately I have wanted to change things up a bit and get some softer colors in the house for Spring and Summer.

I have a guest room upstairs that has a beautiful comforter in blues on the bed that my mom gave me when she re-did her bedroom.  I have spent the last year combing Goodwill and thrift stores for accessories to fill the guest room out.  Since the room has had guests in it for a total of 3 nights in the past 25 months - and it's upstairs where no one, except me and the boy (and on rare occasions - the husband) goes - I felt that I could safely swap a few items from up there with no one really noticing.  Hence, the new blue color scheme was born.

I have spent about the past month looking for things at Goodwill to help me freshen things up in the main living areas.  This is what I came up with for the dining room.


I found this tablecloth for $1.99.  There is another one exactly like it that I plan on picking up today - if it's still there.  I now realize the value of having a back-up for when this one is in the wash.  I also took the red rug out to the garage and lugged this one that used to be in the living room back in with Isaac's help.  It has much softer colors with some blue sprinkled in there. 

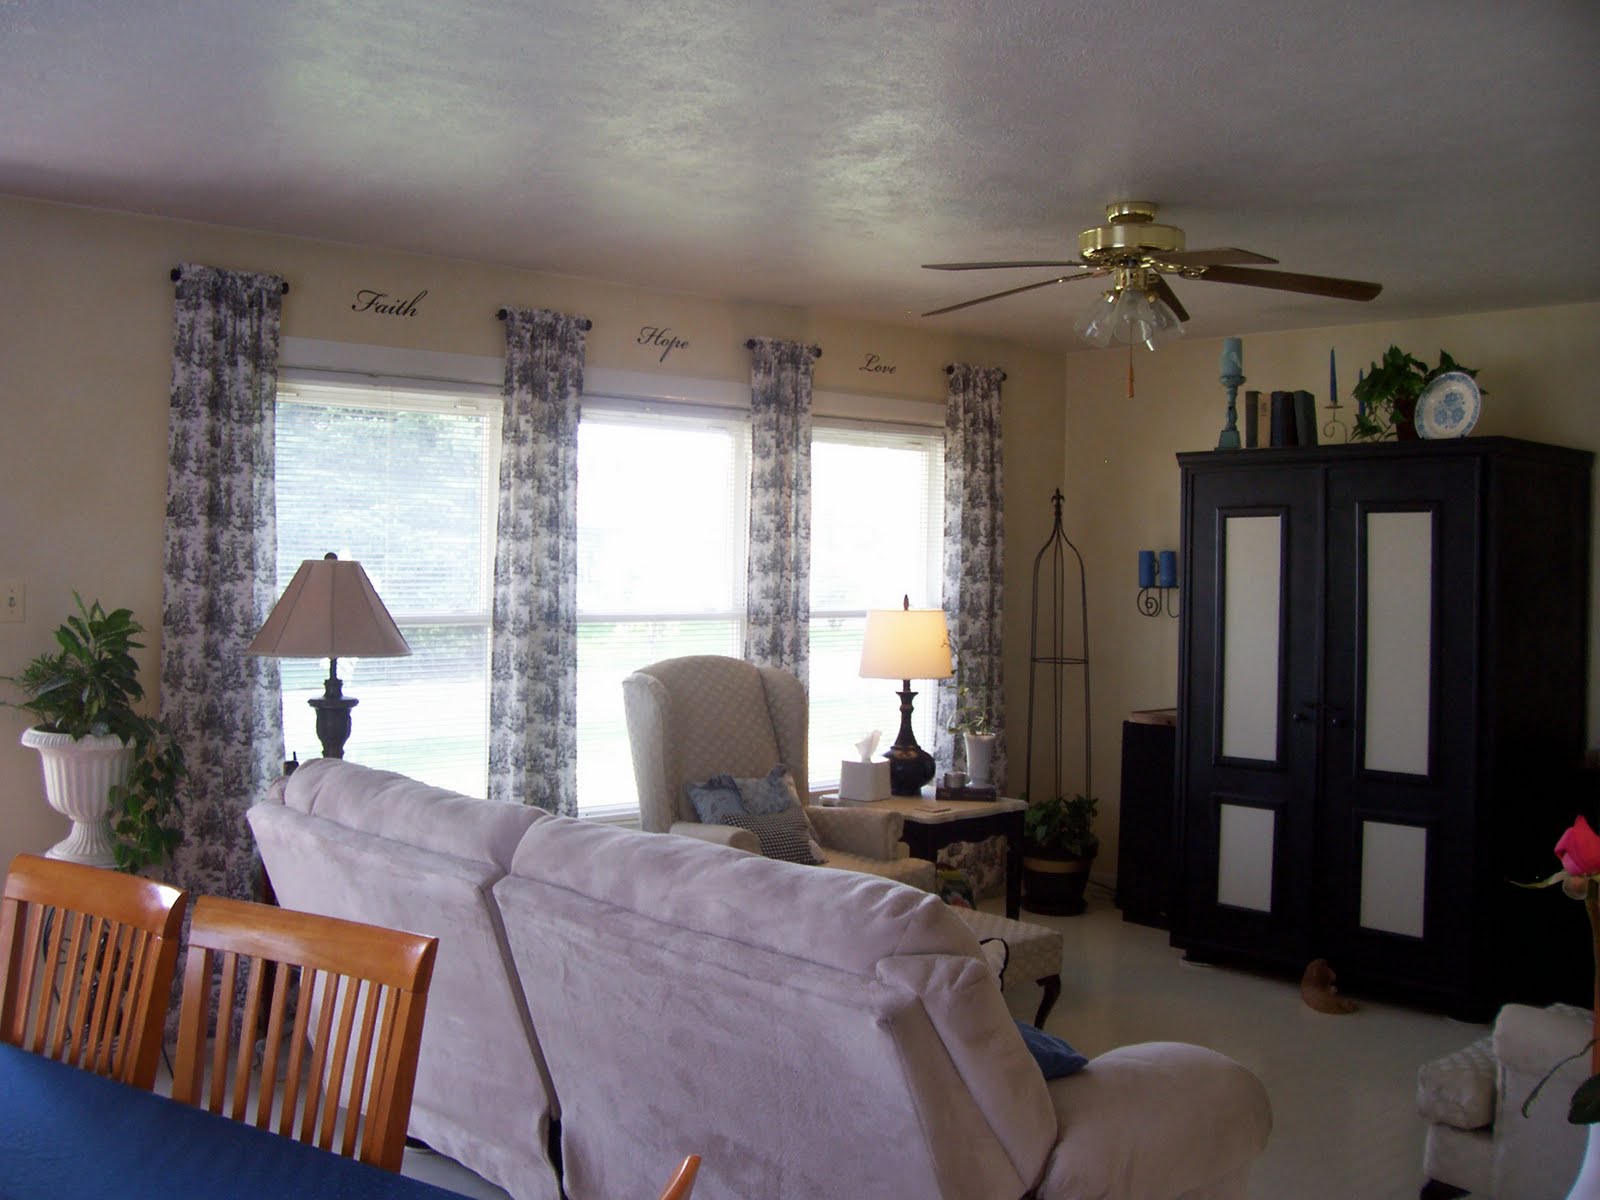
Then, there's the windows.


I found these at Goodwill for $3.99 per panel - $7.98 total for a huge amount of drapes.  They are actually just king sized flat sheets.  I did nothing to them, save for the washing.  The top of the sheet (when it's on a bed) with the large four or five(ish) inch hem is by the floor.  I simply clipped the other end to my rings,  making a double fold at the top to get them the right length.  You can see it if you look closely.

In the above picture you can also see that I took the black shade off of the chandelier.  My goal (if it goes like I see it in my head) is to cover the shades with some really pretty soft blue and white toile wrapping paper that I have and then put them back on the chandy.  But, that would require me remembering to buy some double-sided tape when I'm out today. :0)


And, lastly...my centerpiece for the table.  I already had this Jasmine topiary, so I decided to make it work for Spring.  It's sitting in my wicker Goodwill tray (lined with burlap) that has held many other things in the past.  I had this nest of eggs from last year.  It needed something around the base, so I bought 2 bags of blue glass for a buck a piece at the dollar store and put them in there.  And since I had a nest of eggs - I thought it only fitting to swipe the lovebirds from my bedroom to fill it out.  Is it perfect?  Nope.  Is it good enough?  Good enough for me!

So, that's a peek of where I am with the dining room right now.  I think that it will make a huge difference when the woodwork is all painted out white, too.  I hoping that happens tomorrow. :0)  Total spent in this room = $11.97.  Not bad for new curtains and everything.  I'll share the living room next.

Happy Homemaking!

Sunday, February 7, 2010

HOW TO MAKE A HEAT PACK

Back a few months ago I came across a tutorial that Holly from Homebody did on making heat packs.  She had seen it floating around the internet herself.  Since we cannot seem to find our electric heating pad, I decided to make one myself.  I couldn't believe how much better the heat from the rice pack penetrated sore muscles than our electric pad.  I let Holly know that I had made one and how much I liked it.  She told me that the rice is a wet heat and therefore penetrates better.  (Her husband is a chiropractor.)

I gave the original one I made to my MIL because she has a lot of pain in her spine.  She can't sing it's praises enough.  She said it is so soothing to her.  This is also the same sort of heat pack that my mom uses.  Sometimes simple is just plain better.  So, I thought I'd share how to make them as well.


I had bought this small tablecloth at Goodwill back several months ago thinking the material might be good for something.  And at $1 I think it was a pretty good bargain.  You can see I've used some of it already.  This is what I'll be using today.

*I am going to make the packs straight from this material.  But, I have also made some from muslin and used this to make washable covers for the muslin heat packs.  The choice is yours.


Decide on the size you want your heat pack to be and cut 2 pieces of material the same size.  This one is about 10" x 15".  A square that is 12" x 12" is a good size.  I have also made long tubes to wrap around the neck and shoulders.  Really, it's just a personal preferance, not rocket science.

Place your 2 pieces of material together (right sides facing) and sew up 3 sides with a straight stitch.  Leave 1 short end completely open.  Also, the 2 long sides should be left open 1" from the top that is open.  This will leave you with a flap to fold in and make a finished edge at the end.

Once the 3 sides are sewn, flip it inside out and press. 


Now you're going to make the channels to fill it.  I like to have 3.  The channels will help keep the rice a little more evenly distributed.  Figure out how far apart they need to be.  Each of my channels needed to be just over 3" wide, so I marked them with straight pins all the way  up.


When I got to the top with the opened end - I measured down 1" and put a straight pin in the opposite direction.  This is my starting point for sewing my channels.  Remember, I left an inch on each side open as well.

Start at the pin marking 1" from the top and sew a straight line all the way down the length of the fabric using the straight pins as your guide.  Repeat for the next channel.  Don't forget to back stitch at the top to reinforce it.

Now you are ready to fill it with rice or corn.  You could also use dried beans.  But, I like the rice.  You can also add dried herbs if you wish.  I added dried lavender.  Only fill about 3/4 full.  You want the rice to be able to move around a bit. 

Once the pack is filled, fold each 1" flap at the top in towards the middle - meeting at the seams.  You will have a 1/2 " flap now.  Press it and pin it so the rice doesn't fall out.  See the picture below.


I like to close mine off with 2 seams for reinforcement.  I set my needle as far to the right as it will go and use my presser foot as a guide for my first row of stitching.  Don't forget to back stitch at the beginning and the end.


Next, I move my needle back to middle position and sew another row with a 1/2" seam allowance.  That's it.  You're heat pack is now done.


These packs can go in the microwave for about 2 minutes (depending on how your's heats) to warm it.  Or, they can go in the freezer when you need a cold pack.  The weight of these is really nice.

Even if you have limited sewing skills (like me), these are very simple to make.  I hope I made the directions understandable.  Very simple.  Very affordable.  Very effective.

Happy Homemaking!

Thursday, February 4, 2010

MAKE-SHIFT VALENTINE'S DAY WREATH


I think that a wreath hanging on the front door makes a home look so welcoming and inviting.  I, however, don't usually have a wreath hanging on my front door.  I don't like visitors.  Just jokin'!  I just don't have space to store a wreath for every holiday and season.  But, I'm trying to creatively rectify this situation by using a basic wreath frame and changing out the frou frou's.

Last year, my MIL had bought a heart shaped wreath covered in red garland for Valentine's Day.  After the big holiday was over she decided that she wouldn't reuse it again.  So, she offered it to me.  Not being one to turn down a freebie, I graciously accepted.  Thanks, Carol!  But, a red wreath is just not going to show up against a red door.  So, I clipped all of the garland off and stuck the frame aside until today.

I got a wild hair up my heiny and on the spur of the moment foraged through my meager supply of crafting items to quickly find a way to make a wreath for our door for the upcoming holiday.  This means that I was in such a hurry that I couldn't possibly take the 2.94724 seconds that it would have taken to run downstairs and grab my camera so I could show you how I did it.  But don't worry, it was rediculously stupid easy - I promise.


I had a remnant of off-white flannel lying around that I simply opened up and began wrapping around the frame, starting and ending at the top.  I used straight pins on the backside to secure it in place.  I didn't even bother to trim or tuck the frayed edges.  We'll just call it texture and be happy. :0)

Next, I stuck a couple of white roses in some folds and straight pinned them in place.

After I realized that I had some cream ribbon that would work, I wrapped it around the wreath, too.  Once again, I secured it to the back with straight pins.  You didn't see that coming, did you?  See, I told you this was stupid easy.

A small picture frame that I had bought for fifty-cents or a dollar at Goodwill back several months ago caught my eye.  I had painted the frame Heirloom White and covered the wooden back with chalkboard paint.  I thought it might fit nicely on my wreath.  The only problem was it didn't have a chain to hang it with yet.  I just couldn't be bothered with small details like that at the moment.  So, I grabbed my hot glue gun and simply smothered that sucker with glue and plopped her where I wanted her.  She's holding nicely, if I do say so myself.  A quick XO makes it a lovely Valentine's Day touch, me thinks.

Lastly, I hung the wreath by stapling it on my door with more of the cream ribbon.  Then I tied a bow and hot glued it to the top of the wreath. 


It's not perfect.  It probably needs more frou frous.  But, it was free and welcomes our visitors with Valentine's Day warmth.  I like that I was able to throw something together with a bunch of stuff I had on hand in a matter of 5 minutes and it didn't cost me anything.  The good thing is, in a couple of weeks I can dismantle it and use the stuff for something else.  I think me and my make-shift wreath are going to get along just fine. :0)

Happy Homemaking!